Custom proxy URL
All stories are served from StorifyMe infrastructure by default (eg. storifyme.com).
If you want to serve stories through your own domain using a proxy setup (eg. mydomain.com/webstories/*), you can configure a custom proxy URL. This allows you to proxy requests from your servers/domain to StorifyMe while keeping content on your domain.
Custom proxy URL requires an Enterprise tier subscription.
When to use custom proxy
Custom proxy is useful when:
- You want stories to appear on your domain without full DNS delegation
- You need more control over caching and request handling
- You want to serve stories from a subpath (eg.
/webstories/) - You want to maintain your domain in the URL for SEO or branding purposes
Configuring custom proxy in StorifyMe
Story proxy configuration
- Navigate to Settings → Account in your StorifyMe dashboard: https://app.storifyme.com/settings/account
- Locate the Proxy base url section
- Enter your proxy base URL (eg.
https://yourdomain.com/webstories)
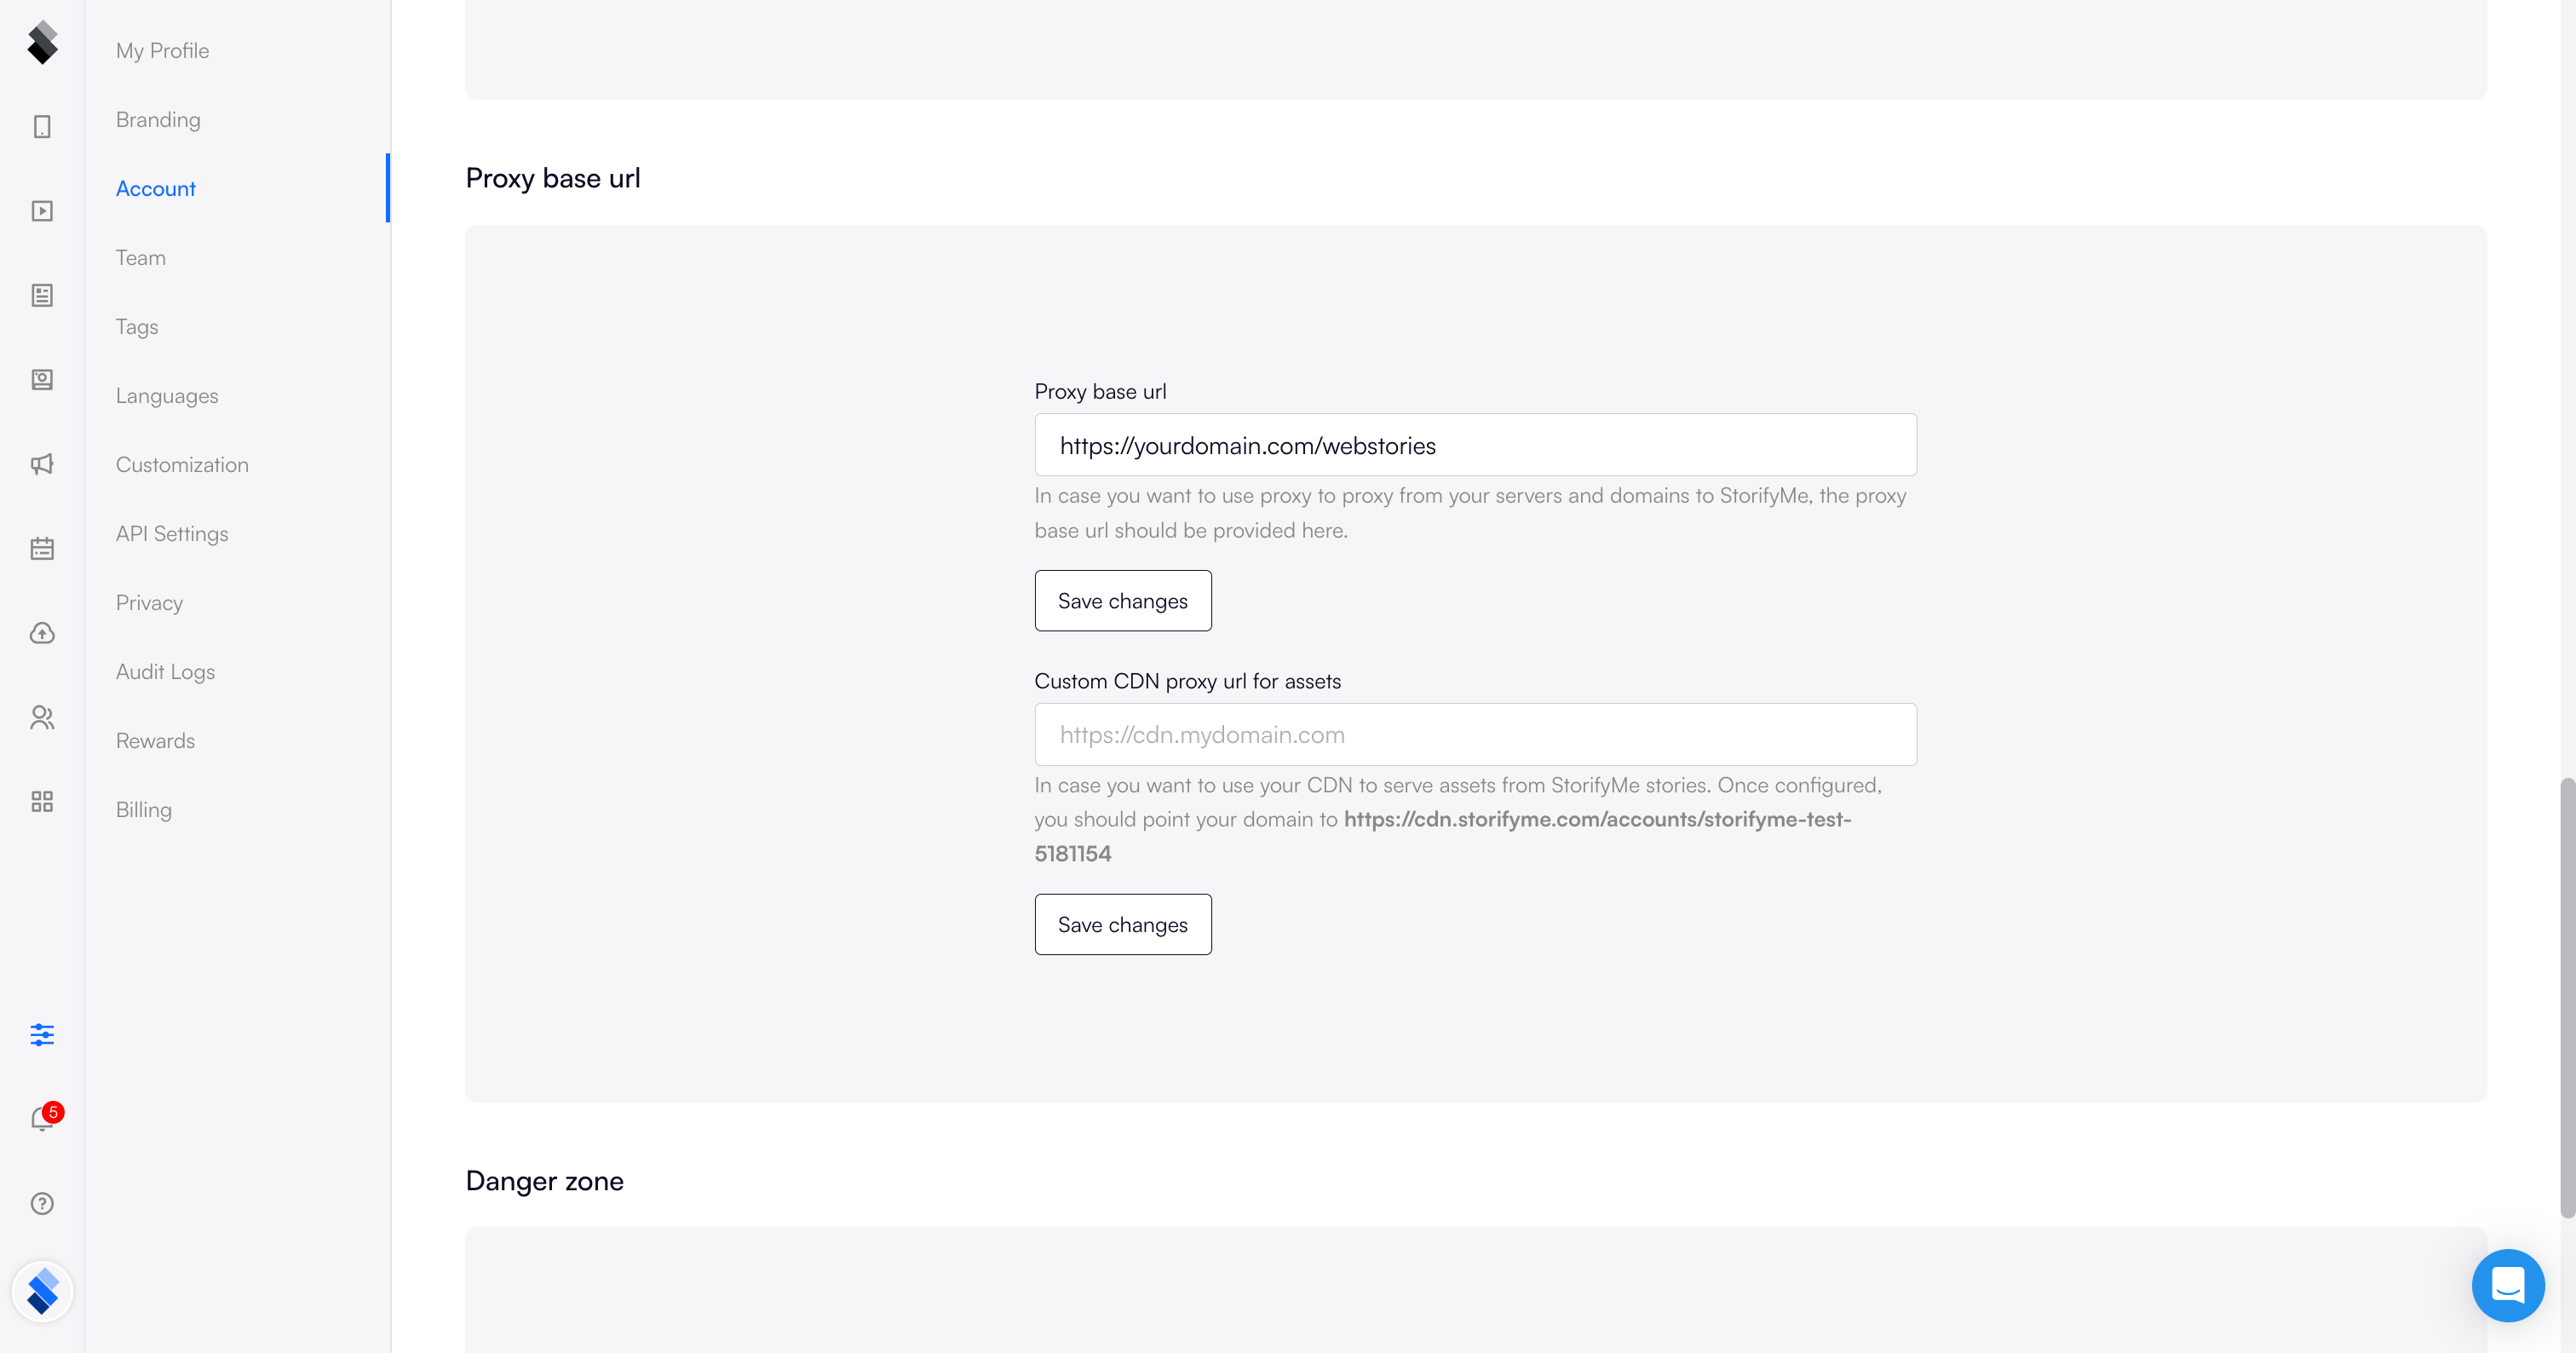
Once configured, StorifyMe will use this base URL when generating story links.
CDN proxy for assets
In addition to proxying story pages, you can also proxy all story assets (images, videos, media files) through your own CDN:
- In the same Settings → Account page, locate the Custom CDN proxy url for assets section
- Enter your CDN domain (eg.
https://cdn.mydomain.com) - Configure your CDN to point to:
https://cdn.storifyme.com/accounts/{your-account-id}
Benefits of CDN proxy for assets:
- Serve all media through your branded domain
- Control caching policies for images and videos
- Reduce bandwidth costs by leveraging your CDN infrastructure
- Improve performance with edge locations closer to your users
Setting up the proxy
You need to set up a reverse proxy on your infrastructure that forwards requests to StorifyMe. Below are examples for different setups.
Setting up story proxy
Cloudflare Worker example
If you're using Cloudflare, you can set up a Worker to handle proxying:
// Configure these values based on your setup
const TARGET = 'https://storifyme.com/stories/your-account-id';
const ROUTE_PREFIX = '/webstories';

export default {
    async fetch(request, env, ctx) {
        const url = new URL(request.url);

        // Only proxy the configured route
        if (!url.pathname.startsWith(ROUTE_PREFIX)) {
            return fetch(request);
        }

        // Map your route to StorifyMe target
        const targetPath = url.pathname.replace(ROUTE_PREFIX, '');
        const target = TARGET + targetPath + url.search;

        // Clone original request
        const init = {
            method: request.method,
            headers: request.headers,
            body:
                request.method !== 'GET' && request.method !== 'HEAD'
                    ? request.body
                    : undefined,
            cf: {
                cacheEverything: true,
                cacheTtl: 300, // 5 minutes cache
            },
        };

        // Fetch from StorifyMe and return
        const response = await fetch(target, init);

        // Adjust headers for proper proxying
        const newHeaders = new Headers(response.headers);
        newHeaders.set('Access-Control-Allow-Origin', '*');
        newHeaders.delete('set-cookie'); // Remove cookies if not needed
        newHeaders.set('Cache-Control', 'public, max-age=300');

        return new Response(response.body, {
            status: response.status,
            headers: newHeaders,
        });
    },
};
Configure Worker route:
- Route pattern:
yourdomain.com/webstories/* - Worker: Select the worker you created
Other proxy solutions
You can implement reverse proxying using various enterprise infrastructure:
Nginx:
location /webstories/ {
    proxy_pass https://storifyme.com/stories/your-account-id/;
    proxy_set_header Host $host;
    proxy_cache_valid 200 5m;
}
Apache:
ProxyPass /webstories/ https://storifyme.com/stories/your-account-id/
ProxyPassReverse /webstories/ https://storifyme.com/stories/your-account-id/
AWS CloudFront / CDN:
- Set up origin with path pattern matching
- Configure origin to point to StorifyMe infrastructure
- Set appropriate cache behaviors
Setting up CDN proxy for assets
Cloudflare CDN example
-
Create a CNAME record:
- Name:
cdn(or your preferred subdomain) - Target:
cdn.storifyme.com - Proxy status: Proxied (orange cloud)
- Name:
-
Configure cache rules in Cloudflare:
- Go to Rules → Page Rules
- Add rule for
cdn.yourdomain.com/* - Settings:
- Cache Level: Cache Everything
- Edge Cache TTL: 1 hour or longer
- Browser Cache TTL: 1 hour
-
Update the Custom CDN proxy url for assets in StorifyMe to:
https://cdn.yourdomain.com
AWS CloudFront example
-
Create a CloudFront distribution:
- Origin domain:
cdn.storifyme.com - Origin path:
/accounts/{your-account-id} - Viewer protocol policy: Redirect HTTP to HTTPS
- Origin domain:
-
Configure cache behavior:
- Cache policy: CachingOptimized (or custom with 1+ hour TTL)
- Origin request policy: CORS-CustomOrigin
-
Add your custom domain (eg.
cdn.yourdomain.com) as an alternate domain name (CNAME) -
Create DNS CNAME record pointing to your CloudFront distribution
-
Update the Custom CDN proxy url for assets in StorifyMe to:
https://cdn.yourdomain.com
Other CDN providers
Most CDN providers support origin configuration. General setup:
- Origin:
cdn.storifyme.com/accounts/{your-account-id} - Cache TTL: 1-24 hours
- HTTPS: Required
- CORS: Enable if needed
Testing your proxy
Test story proxy
- Visit
https://yourdomain.com/webstories/[story-slug] - Verify stories load correctly through your proxy
- Check browser developer tools to confirm requests go to your domain
Test CDN proxy for assets
- Open a story and inspect image/video URLs in browser developer tools
- Verify assets are loading from your CDN domain (eg.
https://cdn.yourdomain.com/...) - Check CDN analytics/logs to confirm traffic is flowing through your CDN
Enable caching at your proxy layer to improve performance and reduce load. A cache TTL of 5-15 minutes works well for most use cases while keeping content reasonably fresh.
Mobile SDK Configuration
Once your proxy infrastructure is set up, configure the mobile SDKs to use your custom proxy URL:
// Android
StorifyMe.init(
    context = applicationContext,
    apiKey = "your-api-key",
    accountId = "your-account-id",
    environment = StorifyMeEnv.EU,
    customBaseUrl = "https://yourdomain.com/webstories/"
)
// iOS
StorifyMeInstance.shared.initialize(
    accountId: "your-account-id",
    apiKey: "your-api-key",
    env: .EU,
    customBaseUrl: "https://yourdomain.com/webstories/",
    certificatePins: nil
)
For complete mobile SDK integration including certificate pinning for enhanced security, see:
📱 Custom Base URL & Certificate Pinning Guide
This guide covers:
- Detailed SDK setup for all platforms (Android, iOS, React Native, Flutter)
- Certificate pinning for MITM attack prevention
- Best practices and security considerations
- Troubleshooting and error handling